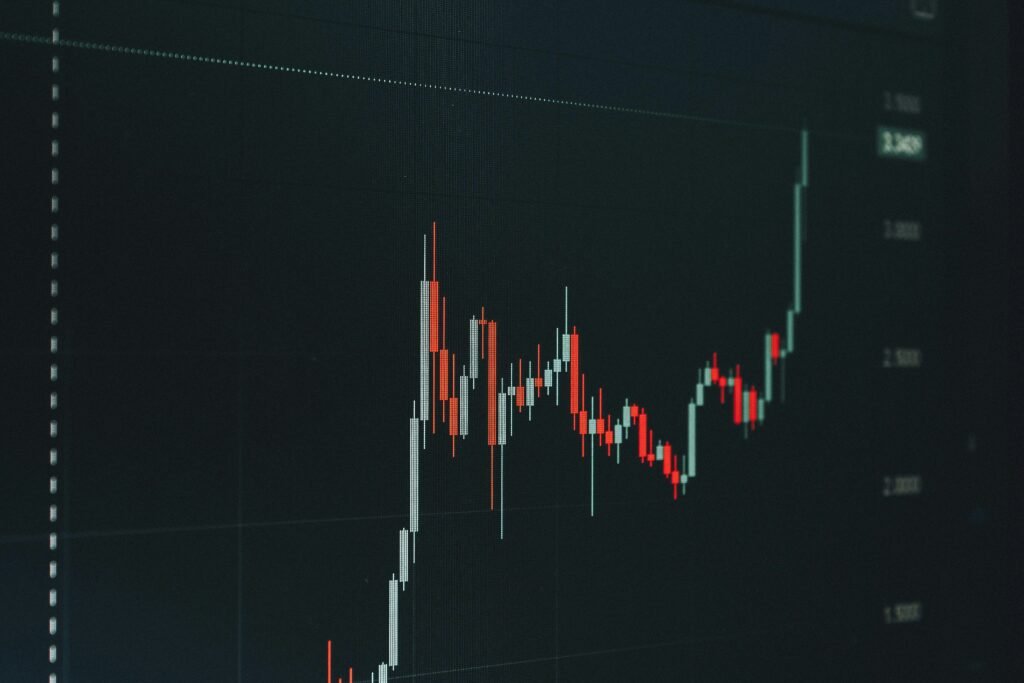
A clean NQ chart can turn chaotic in seconds. Price reaches a level, your setup appears, and you miss it because you were watching another screen or second-guessing a dozen indicators. That is exactly why essential TradingView alert settings matter. Alerts should not create more noise. They should tell you when your rules are active so you can show up prepared, execute with discipline, and stop chasing candles after the move is already gone.
For NQ and ES futures traders, an alert is not a trade recommendation. It is a checkpoint. It tells you that price, structure, or a rules-based signal has reached the condition you already decided matters. Set them up correctly and TradingView becomes a focused execution tool. Set them up carelessly and it becomes another source of distractions, false urgency, and bad entries.
Essential TradingView Alert Settings That Actually Matter
The most useful alert setup starts before you click the alert button. You need a defined reason for being notified. “NQ is moving” is not a reason. “NQ has reclaimed my premarket level while my entry condition confirms” is a reason.
Create alerts around a small set of conditions tied to your plan: key session levels, a confirmed indicator signal, a breakout or rejection at a defined price, and risk-management levels after you are in a trade. If you cannot explain what you will do when the alert fires, do not create it.
On TradingView, right-click a price level or use the Alert button. Then choose the correct condition. If you use a custom indicator, make sure you understand whether its alert condition is based on a plotted signal, an `alertcondition`, or an alert generated by the script itself. A signal on your chart is useless if the script does not support an alert for that exact event.
This is where traders get sloppy. They see an arrow, assume it will notify them, then learn the hard way that the alert was built on a different condition. Test one alert during a quiet period. Confirm the message, device notification, sound, and chart symbol before you rely on it during the opening drive.
Choose Once Per Bar Close for Confirmation
For most rules-based NQ and ES setups, “Once Per Bar Close” is the setting that keeps you out of trouble.
NQ can trade through a level, print what looks like a perfect signal, and reverse before the candle closes. If your alert fires the instant the condition appears intrabar, you may be pulled into a trade that your rules would never approve at close. That is classic chop: fast, convincing, and expensive.
Use “Once Per Bar Close” when your strategy requires confirmation. This is especially useful on one-minute, two-minute, three-minute, or five-minute charts when you need to know that a breakout held, a rejection actually closed back through a level, or an indicator signal remained valid.
There are exceptions. A scalp strategy built around immediate level reactions may require “Once Per Bar” or an intrabar alert. That can be appropriate if your system has been tested for it and you accept that some alerts will fail before the candle closes. The point is not that one setting is always superior. The point is to match the alert frequency to the rule you trade.
Do not use “Once Per Minute” simply because it sounds faster. Faster alerts do not create better entries. They often create repeated distractions while price chops around the same level.
Put Alerts on the Contract You Actually Trade
A trader may analyze NQ1! or ES1! for a continuous view but execute on the active futures contract through a broker or prop firm platform. That difference matters.
Continuous contracts can be useful for clean historical context, yet price can behave differently around rollover, data feeds, and contract transitions. If your orders are placed on the active NQ or ES contract, build your execution alerts on the same contract whenever possible. You want the alert price to match the price you see when it is time to act.
Before the session, verify the symbol, exchange data, and contract month. Do not wait until a fast market to discover your alert was sitting on an old contract or a chart with delayed data. That mistake has nothing to do with market skill. It is an avoidable process failure.
Use Price Alerts for Levels, Indicator Alerts for Setups
Price alerts and indicator alerts do different jobs. Treating them as interchangeable is how traders end up with a screen full of random notifications.
A price alert is best for a level that deserves attention: premarket high or low, overnight high or low, prior day high or low, opening range boundary, VWAP area, or a level from your plan. The alert tells you to get back to the chart. It does not automatically mean buy or sell.
An indicator alert is for the specific condition that may trigger your entry. If your strategy uses a rules-based confirmation, the alert should fire only when that confirmation is present. This is where a structured tool can reduce decision friction. Quantum Navigator users, for example, should align alerts with the indicator’s documented entry logic rather than inventing extra filters every time a signal appears.
The clean workflow is simple: a price alert brings your attention to the area, then a setup alert tells you whether the rule is actually active. That two-step process prevents you from staring at the market all day while still keeping you ready for qualified trades.
Set Delivery Methods for Real Trading Conditions
A desktop pop-up is fine when you are planted at your desk. It is useless if you step away for coffee, check a prop firm dashboard, or work from a second monitor with the chart minimized.
Enable the TradingView mobile app notification if you need to be away from the chart. Use a distinct sound for high-priority setup alerts and a less aggressive sound for watchlist levels. Your brain should know the difference before you even look at the screen.
Email notifications are usually not the best primary channel for scalpers. Email delivery can be delayed, buried, or ignored. Webhook alerts can be valuable for advanced workflows, but they are not magic automation. A webhook requires correct formatting, reliable receiving software, and thorough testing. If you do not understand every step, do not connect live trade execution to it.
For most discretionary futures traders, app notification plus an on-screen alert is enough. Keep it simple. The goal is to receive the message, assess the chart, and follow your rules – not build a complicated notification machine that breaks at 9:31 a.m.
Write Alert Messages That Tell You What to Do Next
A message that says “Alert” is worthless. By the time you open the chart, you may not remember which level or setup fired.
Name alerts with the market, timeframe, condition, and intended response. For example: “NQ 2m – Premarket High – Watch for short rejection” or “ES 5m – Long setup confirmed – Check stop distance.” The alert is not telling you to blindly enter. It is reminding you of the next rule-based action.
If your indicator supports dynamic placeholders, include useful details such as the symbol, price, timeframe, and signal direction. Keep messages short enough to read on a phone. A wall of text is not helpful when price is moving quickly.
A good alert message answers three questions: What fired? Where did it fire? What should I check before acting? That is enough. Drop the nonsense and noise.
Give Every Alert an Expiration Date
Old alerts are dangerous because they look legitimate right up until the moment they fire. A level from last week may no longer matter. A signal alert attached to an outdated chart layout may not match your current rules.
Set alerts to expire after the period in which they are relevant. For intraday NQ and ES levels, that may be the end of the session. For a swing reference, it may be several days. Review active alerts before the opening bell and delete anything that no longer belongs in your plan.
TradingView plan limits can also force discipline. Instead of filling every slot with “just in case” alerts, reserve them for conditions with a clear edge. One high-quality notification is more valuable than 20 alerts that train you to ignore your phone.
A Pre-Market Alert Check Takes Five Minutes
Before the cash open, run through this short checklist:
- Confirm you are on the correct NQ or ES contract and have live data.
- Check that price-level alerts match today’s premarket and overnight structure.
- Verify the alert frequency matches your timeframe and entry rules.
- Test one notification path on your desktop or mobile device.
- Remove stale alerts from prior sessions and confirm expiration times.
This is not busywork. Prop firm traders do not fail because they lacked another oscillator. They fail because small process errors stack up: late entries, oversized stops, revenge trades, missed levels, and alerts that fire without a plan behind them.
Your alert settings should make trading quieter, not louder. Build them around a defined setup, use bar-close confirmation when your rules demand it, and make every notification earn its place on your screen. When price reaches your area, you will not need to scramble for an opinion. You will have a process waiting for you.